Shopping Bag
0
- No products in the cart.
Restore and Activate Windows
The Windows key is a vital part of your keyboard’s arsenal, offering shortcuts to system applications, the Start menu access, and more. When it stops working, it’s not just a nuisance – it can significantly impact your workflow and navigation on Windows 10.
If you find yourself in this situation, don’t worry; you’re not alone, and there are plenty of solutions available. This guide will provide you with various ways to restore your Windows key’s functionality on both internal and external keyboards, whether you’re a tech expert or just a casual user.
Understanding the root causes of this issue can be essential in determining the right solution. Here’s what might be causing your Windows key to malfunction:
Now that we’ve explored potential causes, let’s dive into straightforward solutions to restore your Windows key’s functionality. These troubleshooting methods are designed to be user-friendly, so even if you’re new to tech repairs, you can still get back on track quickly.
By following this guide, you can tackle the “Windows key not working on Windows 10″ issue and regain control of your system, enhancing your productivity and ensuring a seamless computing experience.
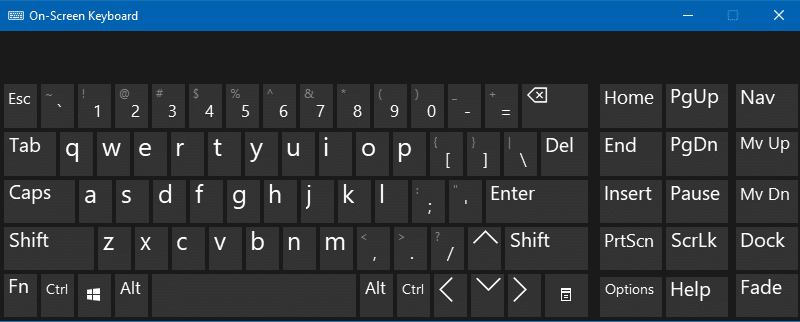
Before diving into the solutions to fix the Windows Key not working issue, it’s essential to have an alternative way to navigate your system. Enabling the On-Screen Keyboard will allow you to use your mouse or touchpad to input commands, making the troubleshooting process smoother.
Now that you have the on-screen keyboard active, let’s begin troubleshooting.
The Filter Keys feature in Windows 10 can sometimes interfere with normal keyboard functioning, leading to the Windows Key not working. Here’s how to turn off the Filter Keys to potentially restore the functionality of the Windows Key:
Restart your computer or simply test if your Windows key functions as intended.
By methodically following these steps, you eliminate a potential cause for the Windows Key malfunctioning. If this doesn’t resolve the issue, don’t worry – there are additional methods you can try!
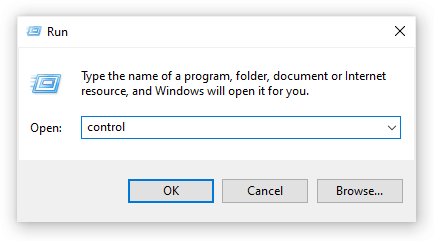
PowerShell is a robust tool that allows users to perform tasks, make adjustments, and troubleshoot their computers through a scripting language. While it might seem intimidating at first, especially if you’re unfamiliar with command-line interfaces, we will guide you through the process step-by-step.
To execute most of the instructions in this guide, your user account must have administrative permissions. This requirement ensures that you can make necessary changes to the system without restrictions.
If you’re unsure about your user account’s permissions, or if you need to grant administrative rights to a local user account, you can refer to our detailed guide on “How to Make a Local User an Administrator in Windows 10.”
With these prerequisites in mind, let’s delve into how PowerShell can be employed to restore the Windows Key’s functionality on Windows 10.

Get-AppXPackage -AllUsers | Foreach {Add-AppxPackage -DisableDevelopmentMode -Register "$($_.InstallLocation)\AppXManifest.xml"}
This command re-registers all Windows apps, which may resolve the Windows Key issue.
This alternative method employs the on-screen keyboard, considering that the physical Windows Key may not be working, and outlines the process to restore its functionality using PowerShell. Always proceed with caution when using PowerShell commands, as they can significantly affect your system.
The Windows Registry is a hierarchical database that stores low-level settings for the Windows operating system. You can apply a specific Registry tweak to restore the Windows Key to its working state.
Follow these steps to perform the Registry adjustment:
After restarting, test the functionality of the Windows Key. If this method doesn’t resolve the issue, there are still other options available in this guide.
By following these instructions with caution and ensuring that you’ve backed up the Registry beforehand, you can safely attempt this method to restore the Windows Key’s functionality on Windows 10.
Microsoft’s Game Mode was introduced in Windows 10 to enhance gaming experiences by optimizing system resources. Unfortunately, it may sometimes conflict with keyboards, leading to problems such as rendering the Windows key unusable. Disabling Game Mode can often resolve this issue. Here’s how to do it:
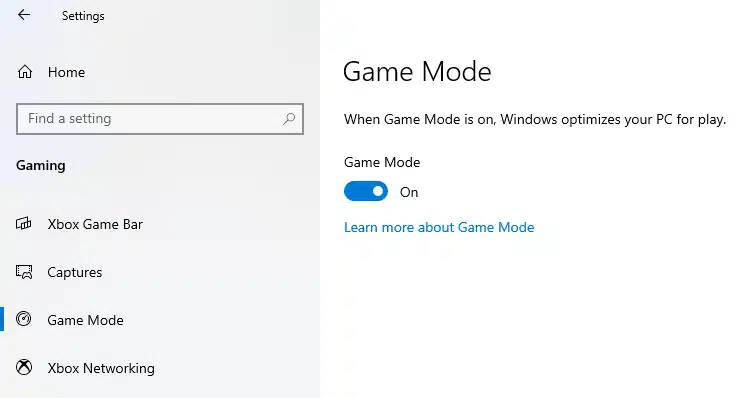
After disabling Game Mode, test your Windows key to see if it has regained functionality. If it still doesn’t work, continue exploring other methods in this guide.
Note: Game Mode’s intention is to enhance gaming performance, so disabling it may affect how some games perform on your system. Consider this trade-off before making the decision to turn off Game Mode permanently.
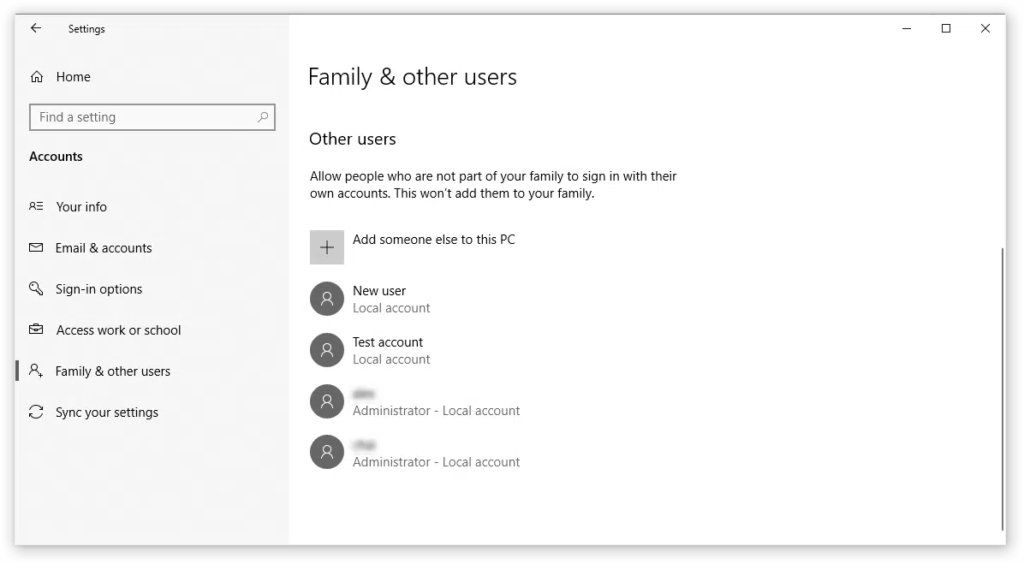
Sometimes, creating a new user account can resolve issues with the Windows key. Here’s how you can do that:
The System File Checker (SFC scan) tool can automatically fix corrupted system files:
sfc /scannowDeployment Image Service and Management Tool (DISM) can repair Windows 10 images:
If you encounter similar issues in the future, don’t hesitate to return to our guide and try other fixes. Reach out to Microsoft’s customer support team or consult an IT specialist if needed.
For integrity and honest business practices in software, look no further than High Perfect Products (H-perpro). As a Microsoft Certified Partner and BBB Accredited Business, we provide reliable, satisfying experiences before, during, and after all your purchases.


WhatsApp us